A glorious thing nowadays is that you needn't be an AI researcher nor have expensive hardware to leverage machine learning in your projects.
Granted, a domain-specific design will net greater benefits in the long run. Yet, until recently, a general-purpose, off-the-shelf solution wasn't easily consumable by your average developer (that's me). Nor was such a monster available—by virtue of APIs—to resource-constrained devices.
Below, I'll introduce the reader (that's you) to API-based object recognition, and how to implement with cheap hardware and JavaScript.
The Raspberry Pi Zero W
Firstly, you will need an internet-enabled Raspberry Pi.
For this project, the most value you'll get for your money is probably a Raspberry Pi Zero W.
Got a different Raspberry Pi?
Most RPi boards have a camera interface. A RPi Zero v1.3 (the non-WiFi one with the camera interface) will also need a USB WiFi dongle, Ethernet adapter, or "hat" providing connectivity.
The "original" RPi Zero, v1.2, does not have a camera interface, and will not work.
While the Zero isn't fast, it can run Linux, which makes it more capable than your garden-variety microcontroller. As you can see, it huffs & puffs to execute a Node.js "useless script":
$ time node -e 'process.exit()'
node -e 'process.exit()'  5.94s user 0.16s system 99% cpu 6.157 total
From the above, I'm going to gingerly assume training a convolutional neural network on this ARMv6-based single-board computer would be a fool's errand. But that's not why you'd buy a Pi Zero W, or build anything with it. This is why:
- It's ten bucks.
- It's smaller than a credit card in two out of the three dimensions which count.
- It's ten (10) dollars, USD.
- With some effort and more cheap hardware, it can be powered via ethernet.
- It exposes GPIO pins. Go nuts.
- Did I mention it's $10?
Once we've got an RPi to work with, we'll need a camera.
What about Brand X single-board computer?
The Node.js code leverages the raspicam package, which is a wrapper around
raspistill. So, if it can't runraspistill, we can't use it for this tutorial.
The Camera
A supported module based on OV5647 ("v1"; datasheet) or IMX219 ("v2"; datasheet) will work. There are "official" modules which can run up to $30, but I've seen a knockoff "v1" from China around $6 on the low end. You don't need an 8MP camera to do this; we'll be taking rather low-resolution photographs.
These cameras are equipped with fixed-focus lenses. I've found that you want to position the camera no less than about 12" (30.48 cm) from the target (another option may be attaching a zoom lens). I'll leave this as exercise to the reader, but here's my solution:
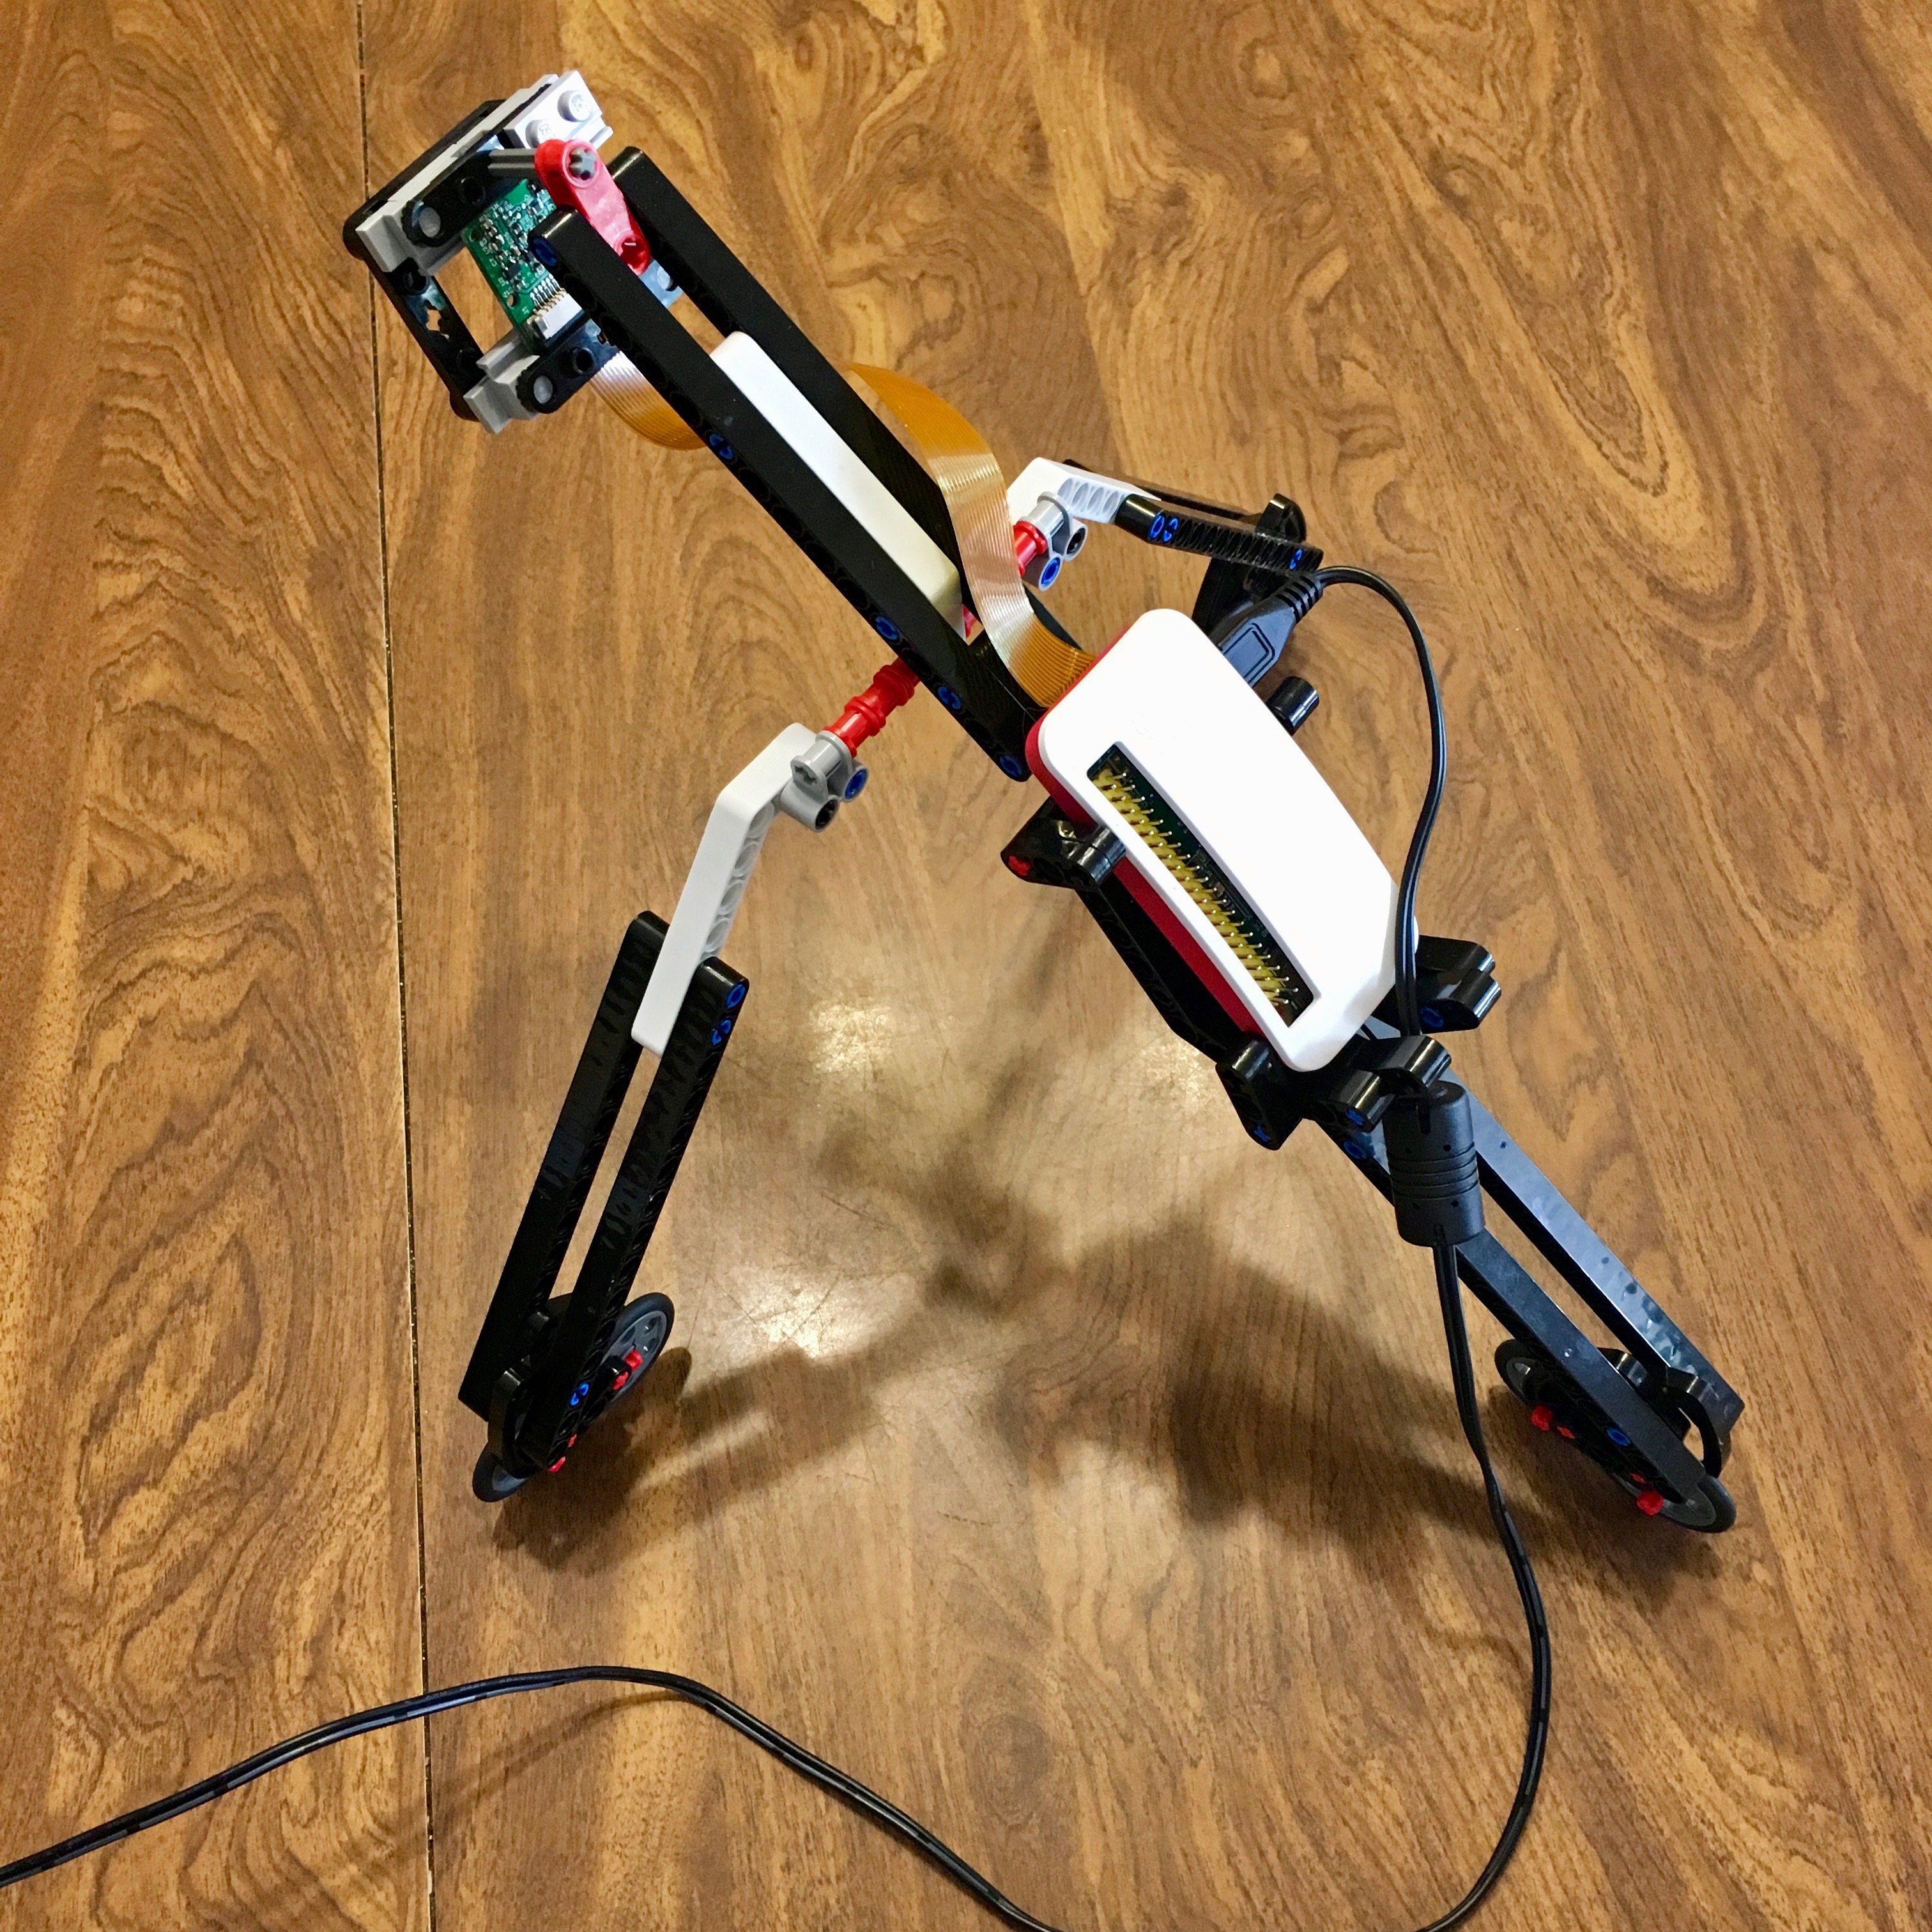
The camera module connects to the RPi via flexible flat cable to a ZIF socket. A RPi Zero supports a cable of width 11.5mm, but the other interfaces expect a width of ~16mm. Adapters and conversion cables exist; one such cable comes with the official case.
Building with LEGO?
For those attempting to build a custom tripod with LEGO, I note that the dimensions of my "v1" camera module are (in one dimension, anyway) roughly 24mm, which corresponds to a length of 3L, or the length of a 3623 plate. 1 x 5 Technic plates 32124 and 2711 are helpful here, as well as 32028 to secure the module in place.
Now that we have the basic hardware together, let's get Node.js installed.
The Node.js
I'm going to assume you've got Raspbian Jessie installed. Theoretically, any distro based upon Debian Jessie should work. Maybe others too, but I haven't tried them!
For this project, we're using Node.js 8 (version 7.x may work with certain command-line flags, but I haven't tried it). Normally, I'll grab binaries from NodeSource. However, they don't support ARMv6.
If you are using a RPi 3, go right ahead and use NodeSource's distributions, then skip to the next section.
But for the Zero, you have several options, two of which I can recommend:
-
Manually install a tarball from nodejs.org; as a superuser, untar the archive and extract it over
/usror/usr/local, or -
My preferred method: install via Node Version Manager. As a normal user (e.g.
pi), follow the instructions on the site and in the terminal to install NVM. Then, run:$ nvm install 8This will install the latest version of Node.js 8 under your home directory, then enable it. Run
node -vto test your install.
The next piece of the puzzle is an API key.
The Cloud
This project uses IBM's Watson Visual Recognition (hereafter "WVR"). It's available from within IBM's PaaS, Bluemix (wiki).
Use may use an existing Bluemix login, or sign up here. Once you're logged in, from the same page, create a service instance; name it whatever you like.
After it's ready, you'll land on the dashboard for the instance. Here, you can find your API key:
- Click "Service credentials".
- Click "View credentials" under "Actions".
- Copy the API key and paste it somewhere safe (like a password manager app) to keep it handy.
Armed with our API key, let's take a short detour into concepts. I promise this won't hurt.
The Concepts
You'll need to know this stuff or you will be arrested by the police.
The Class
The most important concept you need to understand is the "class". In fact, the picture on the WVR site illustrates this well:
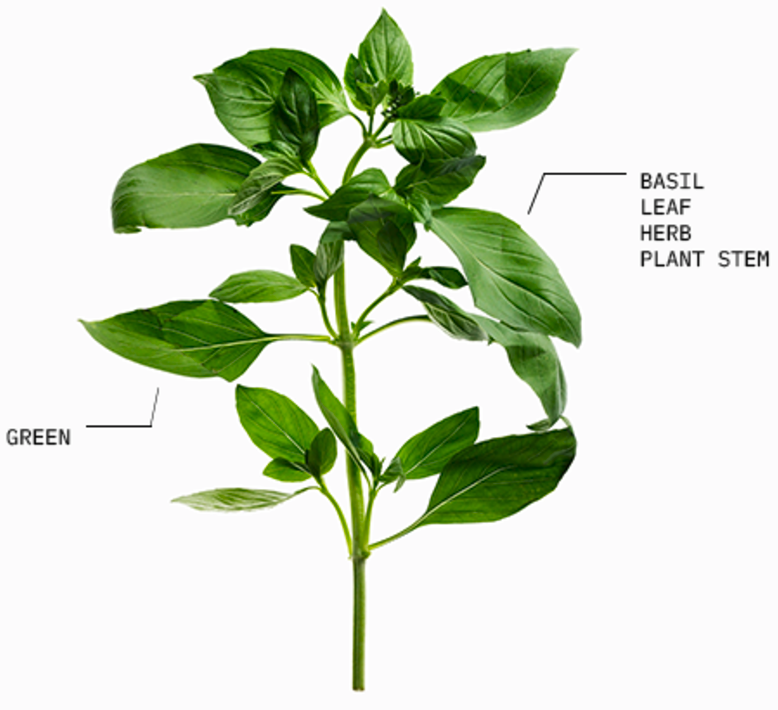
In the picture above, we have five (5) classes:
- Green: the subject of the image is green
- Leaf: the subject of the image contains a leaf
- Plant stem: The subject contains a plant stem
- Herb: the subject of the image is in the "herb" category of plants
- Basil: the subject is specifically a basil herb
It's important to note that a class may be as narrow or broad as you wish. For example, there are many shades of the color "green"--but only one plant named "basil"!
While WVR has some pre-existing classes which work out-of-the-box, our aim is to create our own custom classes.
To do this, we will need to create a classifier.
The Classifier
A "classifier" can be thought of as a logical collection of classes. For example, say you had four friends and family you wanted to be able to recognize the faces of. Each individual could correspond to a "class":
- Uncle Snimm
- Aunt Butters
- Sister Clammy
- Bill
The classifier would be "faces of friends & family", or something of that nature. Perhaps you would add another class to this classifier which was only "family"--you could re-use the same images.
In addition to this, WVR allows have a single special class within your classifier representing images which are not in the classifier. For example, you could put images of random strangers (or your enemies) in this "negative" class. This helps the underlying network avoid false positives.
If you don't have any enemies to use for this project, I can provide a few pointers on how to acquire them. I'll save that for a future post.
More use-cases of classifiers include:
- By limiting the scope of the classes to which WVR compares an image, we increase the likelihood of a good match
- Similarly If we know our picture won't be in classifier X, then we don't need to classify using classifier X
- Limiting scope will increase performance (though I don't know by how much--seems logical, however!)
So, how do we create classes and classifiers?
The Training Regimen
When we create a class, we give WVR an archive (a .zip file) of images. These images are positive examples of class members. Once this archive is uploaded, the training process begins. Training is a process of "learning" in "machine learning". Depending on the number of images in your archive(s), this can take a little while (on the order of minutes for just a paucity of images).
Remember, you can also supply your new classifier a single
.ziparchive of negative examples.
In other words, in WVR, the action of creating a classifier implies training it as well.
Now, for the payoff. Once we have trained a classifier, we get to classify images!
The Classification
Classification is the action of providing WVR one or more images to a classifier, and receiving information about how well each image might "belong" to its classes.
For each image, WVR will give you zero or more classes with a corresponding fraction between 0 and 1. This fractional number represents confidence, not accuracy. Then, for some classifiers, a confidence for class X of 0.6 could imply "member of class X", but for others it could disqualify an image completely.
If WVR's confidence drops below a certain threshold, it won't return a number at all. This threshold is configurable; the default is 0.5. If you're only using 10-50 images, you may want to drop it to 0.3-0.4.
Let's recap the four terms we need to know:
- Class: A set of images having a common attribute which we intend to recognize
- Classifier: A logical collection of classes
- Classification: Using WVR to decide which class(es) an arbitrary image could "belong" to, by reporting a confidence level
- Training: In WVR, we train a classifier; we provide images to the service which we will then use for classification
What classifiers will you create? Wait--before you answer--let me rain on your parade. I'll tell you what I wanted to do until reality sunk in. Gather 'round and weepe, while I bid mine own tale of woe!
The Tale of Woe
I like LEGOs. Inspired by Jacques Mattheij's LEGO sorting project, I wanted to see if I could easily spin up an accurate classifier for different categories of LEGO pieces. For example, could I recognize "plates":
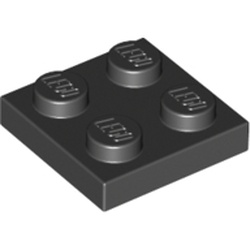
versus "bricks"?
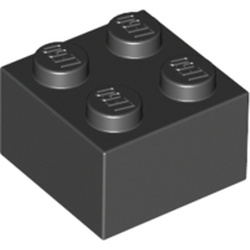
Could I do this? No. Of course not. The long answer:
Once I had a working PoC of my tool (see below), I took many, many pictures of LEGO bricks, plates, etc. They looked something like this:
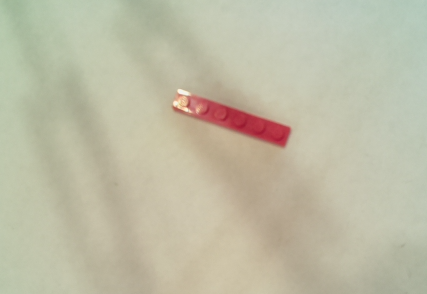
But the classification worked poorly. I tried a lot of different things, such as removing color information, changing backgrounds:
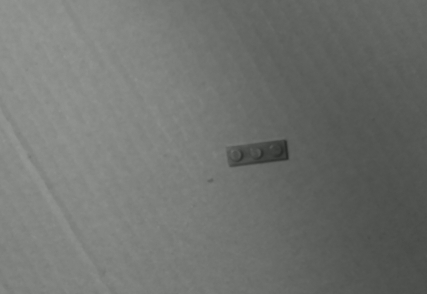
Or fiddling with the color temperature:
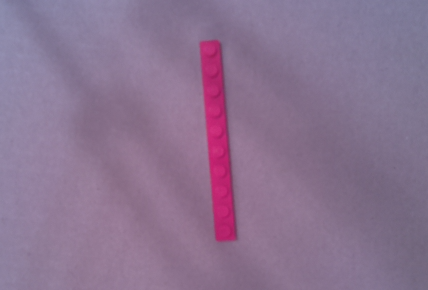
Soul-crushing, abject failure. Every. Time.
One thing I did keep was a lower resolution--high resolution images will not necessarily net better results! In fact, often the opposite: a higher-resolution image will potentially contain an unnecessary level of detail, resulting in extra useless information.
Like usual, I pondered on "useless information".
Look at the previous image. Its resolution is 428x290; multiply and we get 124120 pixels. If we rotate it slightly, then crop down to the relevant information, we get:

That's 20x202 or 4040 pixels. So:
4040 / 124120 = ~0.0325
0.0325 * 100 = ~3.25
That means a bit over 3% of the photos I was taking contained relevant information. It follows that 97% of each photo was useless, wasteful trashpixels.
Remember, the RPi cameras are fixed-focus. If I had a better camera or and/or macro lens, I probably could have made this work. Alas!
LEGOs were too small. I needed something larger; something with fewer important details.
My eyes darted around the room. What would be a good size for a picture taken about 12" away? Maybe kitchen utensils? Cups? That seems boring. Regrets? What do I have a lot of... (I realize you can't answer this)?
Maybe you have a few of these around:
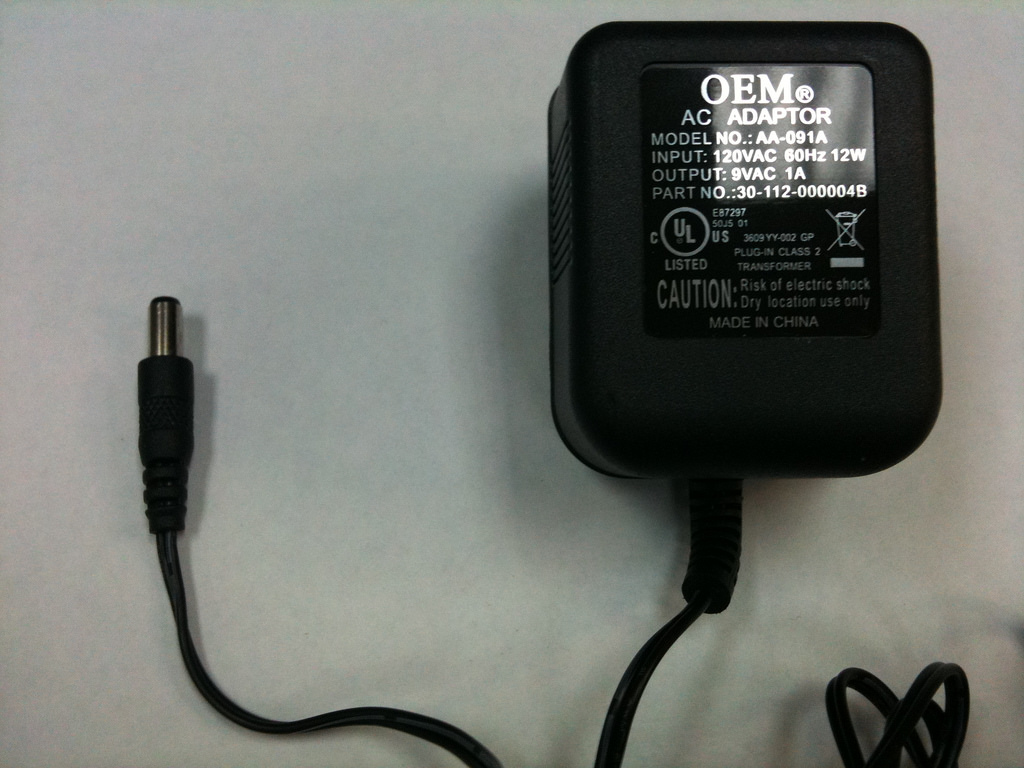
Wall Warts!
If you're into hobby electronics, you might actually collect wall warts. I have ...a few extras.
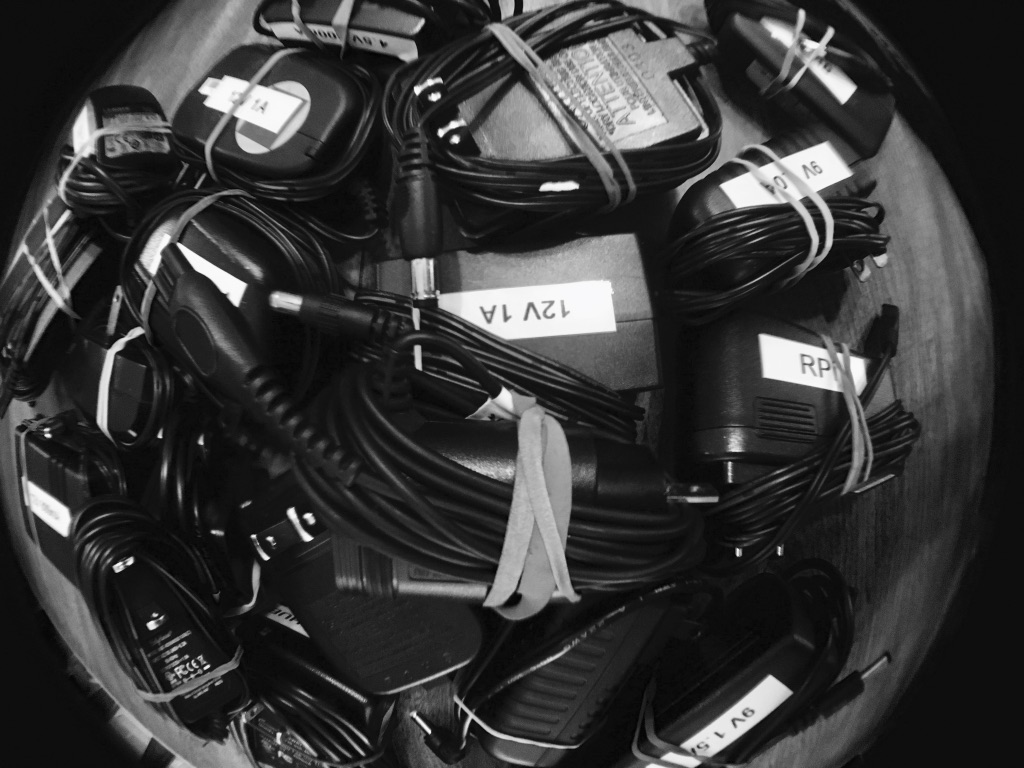
You may not have, say, 20 or 30 of these handy (without having to, you know, unplug stuff). But I do. If you can put aside your envy, you'll notice the signal-to-noise ratio improves dramatically:
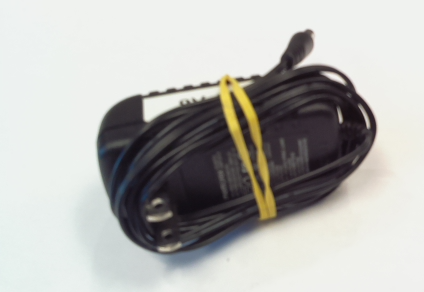
The images are still a bit blurry, but it doesn't matter--we're not trying to read the fine print.
Also, scavening similar-sized objects for a "negative example" class was almost enjoyable:
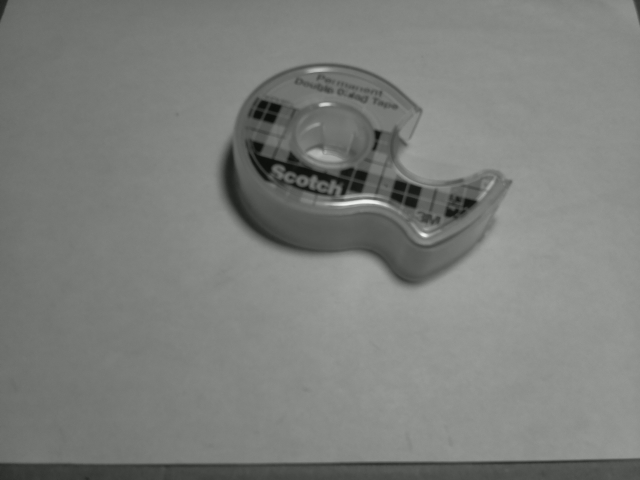
I settled on a resolution of 640x480, and chose to discard color information. See the end of this post for links to my class archives, if you'd like to try them yourself!
Given wall warts are usually black, maybe I would have better results if I kept the color data???
I can offer some general advice for taking your own snapshots:
- Keep the signal-to-noise ratio high; don't include unnecessary pixels!
- Color temperature, shadows, lighting--the less consistent, the more images you'll need.
- Don't worry too much about blurriness (OCR this ain't)
- Consider different placements and angles of your objects
- 50 images per class or more. WVR's lower limit is 10 per, but 50 is recommended as the absolute minimum!
- Even a "low" confidence level can work in practice. Adjust your threshold; as long as the network is more confident when you expect it to be, then you're doing fine!
To help me:
- Take all these pictures,
- Put them in the correct buckets,
- Archive them, and
- Upload them to Watson,
I ended up writing a tool. That tool is called puddlenuts. No, really.
Introducing puddlenuts
puddlenuts is what I wrote to ease the insufferable process of taking hundreds of pictures.
Don't freak. You don't need to take them all at once! You can always add more images to a class later. This is called retraining.
puddlenutscan help with this.
At this point, you should have your RPi configured, with Node.js installed and camera connected. If you don't, what is wrong with you?
On your RPi, install puddlenuts, then go mow the lawn while you wait:
# this may require `sudo` if you aren't using NVM
$ npm install --global puddlenuts
- [ ] # ... time passes ...
+ puddlenuts@0.2.4
added 245 packages in 488.451s
puddlenuts isn't a library; it's a command-line tool. What can it do?
$ puddlenuts --help

Commands:
  classify [..classifier]         Classify an image against one
                                  or more classifiers by a
                                  snapshot or existingimage.
                                  Default is to run against all
                                  classifiers.
  shoot <classifier> <classes..>  Take snapshots to train
                                  classifier with two (2) or
                                  more positive example classes,
                                  OR one (1) or more positive
                                  example classes, and one (1)
                                  negative example class (see
                                  "-n")
  train <classifier>              Train Watson with existing
                                  .zip archives

IO
  --color     Enable color output, if available
                                       [boolean] [default: true]
  --loglevel  Logging level
  [choices: "error", "warn", "info", "debug", "silly"] [default:
                                                         "info"]
  --debug     Shortcut for '--loglevel debug'
                                      [boolean] [default: false]

Watson
  --api-key  Set PUDDLENUTS_API_KEY env var instead!
                                             [string] [required]

Options:
  --help  Show help                                    [boolean]
We want to take photos, so shoot is the command we want.
Shoot
Here's the dirt on shoot:
$ puddlenuts shoot --help
puddlenuts shoot <classifier> <classes..>

Camera control
  --raspistill, -r   Options for raspistill in dot notation
                     (e.g. "-r.width 640 -r.height 480")
                                                       [default:
           {"width":640,"height":480,"quality":100,"timeout":1}]
  --limit, -l        Limit to this many snapshots per class
                                          [number] [default: 50]
  --delay, -d        Delay between snapshots in ms
                                   [number] [default: 3000 (3s)]
  --class-delay, -D  Delay between classes in ms
                                 [number] [default: 10000 (10s)]
  --trigger, -t      Set trigger interrupt on this GPIO pin (RPi
                     only)        [number] [default: No trigger]

Watson
  --api-key  Set PUDDLENUTS_API_KEY env var instead!
                                             [string] [required]
  --retrain  Retrain classifier (if exists)
                                      [boolean] [default: false]
  --dry-run  Don't actually upload anything
                                      [boolean] [default: false]

Class
  --negative, -n  Include negative example class in training
                  (will be final class)
                                      [boolean] [default: false]

IO
  --color     Enable color output, if available
                                       [boolean] [default: true]
  --loglevel  Logging level
  [choices: "error", "warn", "info", "debug", "silly"] [default:
                                                         "info"]
  --debug     Shortcut for '--loglevel debug'
                                      [boolean] [default: false]

Options:
  --help  Show help                                    [boolean]

Examples:
  blueface/bin/puddlenuts.js shoot  Take snapshots to train or
  dogs poodles -n --retrain         retrain the "dogs"
                                    classifier, with a positive
                                    example set of "poodles" and
                                    a negative example set (i.e.
                                    non-dogs); upload to Watson
  blueface/bin/puddlenuts.js shoot  Take snapshots to train (do
  fish catfish swordfish --dry-run  not retrain if "fish"
                                    exists") the "fish"
                                    classifier with positive
                                    examples of "catfish" and
                                    "swordfish"; don't upload
The "camera control" options will allow you granular control over raspistill, which is the official command-line interface for the RPi cam. This is how you can change the resolution, fiddle w/ color correction, silly effects, etc.
These options also allow you to define how many pictures to take and how quickly to take them. After each picture is taken, there's a short pause. I found a delay (--delay) of less than three (3) seconds between pictures isn't quite enough time to comfortably switch an object out for another, or readjust, so this is the default.
Since you tell puddlenuts to take snaps for multiple classes, you can also tell it how long to pause between switching from the last picture of one class to the first picture of the next. I was taking a bit longer to get setup when the class changed (e.g., swapping my pile of wall warts for a pile of random, non-wall-wart objects)--this defaults to ten (10) seconds.
Finally, --limit will limit each class to exactly the number of images you provide it (minimum 10).
The
--triggeroption allows you to wire a switch to one of the RPi's GPIOs. If the GPIO is "high", snaps will be taken (with specified delays). But if it's "low",puddlenutswill pause until you flip the switch back "high" again. Neat!
I realize this first example might get me some unintended search engine traffic, but here we go:
$ puddlenuts shoot dogs poodles --negative --retrain
But what the above command will do, in gory detail, is:
- Take 50 pictures of "poodles", with a 3s delay between each
- Pause 10s
- Take 50 pictures of "not dogs", with a 3s delay between each
- Create
.ziparchives for each set of 50 - If the "dogs" classifier doesn't exist, it gets created
- If the "poodles" class doesn't exist, it gets created/trained
- If the "poodles" class does exist, the 50 images are used for more training
- If the "negative examples" ("not dogs") class doesn't exist, it gets created/trained
- If the "negative examples" class does exist, the 50 images are used for more training
You'll also see plenty of beautiful console output while this is happening.
There's certainly room for improvement here; try it out and let me know what could be easier.
Train
Execute puddlenuts train --help for more information, as I realize it's silly to copy and paste the output here.
The train command allows you create (or retrain) classes using existing .zip archives. It doesn't take pictures.
For example, if you have to cobble together several "shoot" runs (use puddlenuts shoot --dry-run to create .zip files w/o uploading; see log output for their location), or need to collect some images via other means, you should use puddlenuts train.
Classify
This is the "fun" command—it will take a picture and attempt to classify it against the classifier(s) you provide.
If you don't provide a classifier, the image will be compared against all classifiers. Watson provides a "default" classifier, which may be of use—give it a shot and see.
Two more options of note:
- You can also tell
puddlenuts classifyto just upload a file (via the--input <path/to/file>option) instead of take a picture. - You can specify the confidence threshold with
--threshold <number between 0 and 1 inclusive>. You probably don't want to set this to0or1, as the former will give you way too much information, and the latter will give you diddly squat.
What this command provides is a pretty-printed data structure with the classification information. This is an unwieldy tree, and I wasn't sure how to better distill and/or represent it. So you just get a dump. You must admit, it's really all you deserve. Regardless, please let me know if you have a better idea.
For the conclusion, let's stop.
Conclusion
A novice consumer of ML API's may trip up or become frustrated when a system doesn't do what you expect. You must remember that bringing this kind of power down to "our" level will come with caveats. There are limitations in what these shrinkwrapped solutions can offer, but with some persistence, I believe these technologies are widely applicable.
It's my hope you learn from my mistakes (and I hope I learn from them as well). All things considered, it's way easier than I would have expected to get started with this stuff. And cheaper. It's trivial (JavaScript) to do more (computer vision) with less ($10 computers).
My prediction is this trend will continue. In a future post, I'll explain how to do nearly everything using almost nothing.
Addendum
Below are links to the images I used for my "wall warts" classifier. There are only two classes:
- Positive examples (direct download) (wall warts)
- Negative examples (direct download) (not wall warts)
And here's my slide deck associated with a talk I gave on this subject at the JavaScript & the Internet of Things meetup in Portland, Oregon, on August 22 2017.
